How to Set Up a Humidor
Your first humidor! Either someone just got you a great gift or you’ve finally taken the plunge and picked up your very own humidor so you can comfortably keep a box or more of cigars on hand when your pals drop by. It will be such a relief to stop shuffling around in your desk drawer for a couple of dried out sticks like a barbarian. A lot of cigar lovers consider getting their own humidor when they learn, often the hard way, cigars dry out and become unsmokable when they’re not humidified.
One question we’re asked regularly is, “how long do cigars last?” In short, indefinitely is the answer – but only when they are humidified. A quality humidor is the key to aging cigars gracefully. It’s not a complicated science, either. But it does require a bit of patience and care, and it all begins with seasoning your humidor. Below, we’ve outlined the necessary steps for prepping a new humidor. First, we’re focusing on how to set up a humidor with a standard humidification device. A slightly different process is followed if you are using an alternative humidity source like Boveda packs. We’ve outlined the proper way to season a humidor with Boveda at the end.
Setting Up Your Humidor for the First Time
Why does a humidor need to be prepped? The reason is simple. A humidor is designed to keep your cigars humidified. In order for a humidor to perform this essential function, an equilibrium of perfect humidity for cigars must be achieved. Otherwise, your humidor will absorb the humidity in your cigars and cause them to dry out, instead of providing the optimal conditions for storage that premium handmade cigars require.
Humidors come in a variety of shapes, sizes, and materials these days. You can even set up a travel humidor for taking your cigars on vacation. There are different types of humidor wood, but most are made of solid cedar with a wood veneer or high-end finish on the top and sides. If not made entirely of cedar, many humidors will at least feature a cedar lining on the inside. Keep in mind, the methods for breaking in a humidor may vary slightly. Some may work faster than others, but we’re focusing on the most effective process here.
Although we are addressing humidification, temperature is also an important consideration. Store your humidor at a comfortable room temperature (roughly 65 to 70 degrees Fahrenheit) and not too close to a direct source of heat or under direct sunlight.
Most humidors come with essential accessories like a humidification unit and a hygrometer, although not all do. There are a few additional items you will need to set up your humidor for the first time.
What You Need To Set up a Humidor
- Humidification Unit
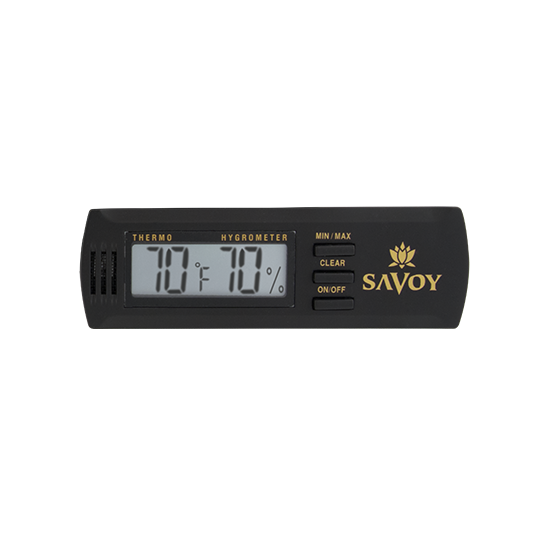
- Hygrometer
- Hygrometer Calibration Kit
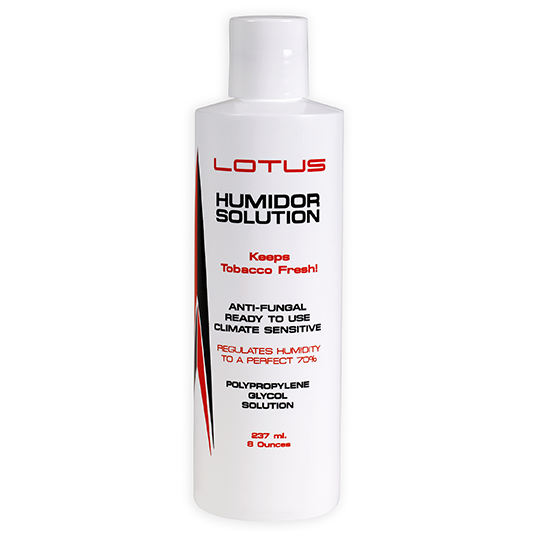
- Propylene Glycol Solution
- 1 Gallon of Distilled Water
- A new, clean and unused kitchen sponge
- A glass dish or stainless steel bowl
- A clean towel or dish rag
How Long Does It Take to Season a Humidor?
The amount of time it takes to season your humidor can vary a bit based on the materials the box is made of, the humidification method, and the size of the humidor. For most humidors, the process takes 3 to 5 days. However, some aficionados will spend up to 2 weeks breaking in a new humidor, simply to do it as gradually and thoroughly as possible.
How to Season a Humidor
There are six essential steps to seasoning a humidor, and we’ve outlined them here.
Step 1. Calibrate the Hygrometer
A hygrometer is not essential to your humidor’s performance. However, a hygrometer is essential to knowing if your humidor is functioning properly, as it allows you to measure the humidity level on the inside of the box. Calibrating your hygrometer is a simple process, but it takes 6 to 8 hours. Follow our instructions for how to calibrate your hygrometer here. While your hygrometer is being calibrated, we can continue to prep your humidor. Whether you’re using a digital or analog hygrometer, both types need to be calibrated.
Step 2. Fill the Humidification Unit
Remove the humidification unit from the box. Place it in a dish. Fill the humidification unit with propylene glycol solution (also called 50/50 solution). With a standard foam humidification unit, you can either squirt the solution into the unit, or you can submerge the entire unit in a dish filled with propylene glycol. Propylene glycol is a safe solution for prepping your humidor and humidifying your cigars. In the absence of propylene glycol, only distilled water should be used – never use tap water as it can create mold on your cigar, both in your humidor and in your cigars. Generally, propylene glycol is recommended over distilled water for the preparation process, as its viscosity prevents over-humidifying the humidor.
Squirt enough propylene glycol into the humidification unit to fill it up evenly. Make sure it is good and saturated. You can add distilled water to the humidification unit, in addition to the propylene glycol, at the end to ensure the unit soaks up plenty of moisture. Once full, shake the humidification unit over a sink so that the excess solution is drained off. Place your humidification unit in the humidor.
For Crystal-Based Humidification Units
NOTE: If you are using a crystal-based humidifier, you can use distilled water in lieu of propylene glycol. Make sure this type of humidification unit is also completely saturated. After filling it up, shake the unit over the sink to make sure the water has been fully absorbed.
Humidification Units with Magnets
NOTE: In the case of a standard foam unit, many feature a magnetic backing that mounts to the inside of the box, usually on the underside of the lid. Make sure you’ve applied any adhesive magnets to the desired position before we begin to humidify the box. The magnets will affix to a dry surface much more easily than after the box is humidified.
Step 3. Humidify the Interior of the Humidor
Now that your humidification unit is full, you may be eager to get the box up to speed as fast as possible. While you can achieve results more quickly by wiping down the interior of the box with a clean sponge or rag dampened with distilled water, it’s best to reach the desired humidity level gradually, over the course of a few days.
Soak your sponge in cold distilled water. Ring the sponge out slightly, but not all the way. You want the sponge to retain a good amount of moisture, but not so much that it is completely dripping wet. Set a plastic Ziploc bag inside the humidor. Set your sponge on (not in) the plastic bag. The bag simply provides a barrier so that the sponge is not in direct contact with the wood interior of the box. If your humidor comes with a tray or removable shelf, you can leave it in the box while you’re humidifying the interior. This way, the shelf itself will absorb humidity as well.
Close the lid on your humidor. Now, it’s time to play the waiting game. Leave the lid closed for at least 3 to 5 days with the wet sponge and humidification unit inside. Waiting longer won’t hurt anything. Some cigar lovers will wait up to 2 weeks to fully humidify a new humidor. In the meantime, your newly calibrated hygrometer can go in the box. The hygrometer will be necessary for measuring the humidity.
Step 4. Measure the Humidity
After 3 to 5 days (or more) have passed, check the humidity level in the box. Ideally, you want your hygrometer to read 75% to 80% RH (Relative Humidity). This is a little higher than the desired range for storing cigars normally, however, your cigars will draw in a lot of the excess initial moisture once placed inside.
NOTE: Humidors that are manufactured with a solid hardwood interior, as opposed to a cedar lining, will take a little longer to fully humidify. You may have to refill your humidification unit with propylene glycol solution and re-soak your sponge in distilled water after a couple days and continue to wait until the box has absorbed the appropriate amount of initial humidity.
Step 5. Fill Your Humidor with Cigars
Once your hygrometer is reading 75% to 80% RH, you can fill the box with cigars. We recommend filling the box at least to half of its total capacity and keeping it half full in order to maintain consistent conditions on the inside. Also, don’t overfill your humidor with cigars. It’s best if you can leave roughly 20% of the interior space vacant. Air and humidity will move around more readily to access all of the cigars you’re storing with a bit of extra space.
Step 6. Perform Regular Maintenance
For a number of cigar lovers, a good amount of time can pass between the occasions you have to smoke a cigar. In the interim, it can be easy to forget you have a humidor. Just like with a house plant, your humidor and your cigar collection need attention and they need to be watered. You want to maintain a regular equilibrium of 65% to 72% RH.
When your hygrometer dips into the low 60s, it’s time to refill the humidification unit. You can use either distilled water or propylene glycol solution. Propylene glycol offers added protection against unwanted bacteria. Many aficionados elect to use distilled water regularly and will add propylene glycol solution to the humidification unit every 3 to 4 cycles. As we mentioned above, never use tap water. It’s better to let your cigars dry out than risk inviting a mold condition with tap water.
Rotate your cigars! This is also an important, often overlooked, step. You don’t want the same cigars always resting in closest proximity to your humidification source. Rotate your smokes. Move the cigars from the top row to the bottom and vice versa. Doing so once every week or two is a great idea. It’s also a great excuse to check on your collection and, of course, to smoke a cigar!
Alternative Ways to Season
The aforementioned process is for seasoning a humidor the traditional way, but there are alternative methods you can follow instead.
How to Season a Humidor with Boveda Packs
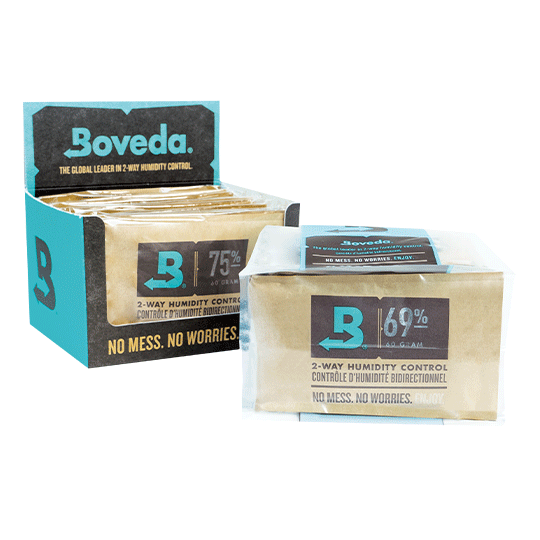
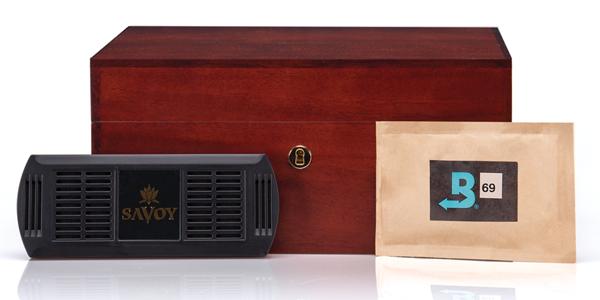
Boveda humidity packs are extremely popular these days. Using Boveda packs is efficient and effortless because they take the guesswork out of humidification by emitting a predetermined humidity level. Once the pack is removed from its cellophane sleeve and placed in the box, it begins releasing moisture. The process for seasoning a new humidor with Boveda pouches is very simple.
The number of Boveda pouches you will need depends on the size of your humidor. To season a new humidor, you will need one 84% RH pouch for roughly every 25 cigars you can fit in the box. For example, if you have a 25-count humidor, one 84% humidity pouch will effectively season your humidor. If you have a 50-count humidor, two 84% humidity pouches will be necessary, and so on.
Insert your 84% humidity pouches into the box with your hygrometer and close the lid. Wait for 2 weeks while the box acclimates to an equilibrium of 84% humidity. Don’t worry about the reading your hygrometer displays initially. Adequate time has to pass for the humidor to appropriately absorb enough moisture and reflect the humidity level.
After 2 weeks, check the humidity reading on your hygrometer. It should be in the lower to mid-80s. Replace the 84% humidity pouches with pouches that deliver a lower humidity output, i.e. 69% or 72% RH. It is a matter of your personal preference when it comes to selecting the best humidity level to maintain your cigars on a regular basis. We recommend 65%, 69%, or 72% RH. Keep in mind, the 84% RH pouches are strictly for seasoning a new humidor and are not suggested for humidifying your cigars. Your cigars will react negatively to too much humidity and the wrappers can potentially split as a result.
After your humidor has been prepped, you can fill your humidor with cigars. Simply replace the humidity pouches when their humidity level has been exhausted. Boveda pouches will stiffen up over time when their humidity is depleted. When the pouches become firm, it’s time to toss them out and replace them with new ones. The number of cigars you store in the box and the number of pouches you use will affect how long each pouch will last. Generally speaking, Boveda pouches will last for at least 2 months, and in some cases, much longer.
For best results, do not mix differing humidification levels. If you use 69% RH pouches, adding a 72% pouch will not deliver extra humidity. The pouches will work against one another instead of maintaining the desired continuous equilibrium.
How Climate Affects Your Humidor
Keep your climate in mind. If you live in a dry, arid climate like a desert, you will have to replenish your humidity source more frequently. If you experience the seasons, it’s a good idea to keep a closer eye on your humidity level in the winter months, especially when the heat is on in your house. When a hot and humid summer approaches, you’ll likely need to replenish your humidification source less frequently. Cigars react to weather, and that affects how we care for them.
How to Lower Humidity in Your Humidor
If you find that you’ve over-humidified your humidor and your hygrometer is consistently reading above 72% RH after the initial break-in period, it’s best to gradually let the humidity recede. You don’t want to leave the lid of your humidor wide open overnight to get the humidity to dissipate. Doing so can shock your cigars as well as the wood inside the box. Simply remove the humidification unit temporarily (for a few hours or a day), and stick a pen or pencil in the lip of the box – just enough to keep the lid cracked open a touch to let some of the humidity exit. Once the humidity level comes down, return the humidification unit to the box and close the lid. It may take a day or two to get back to a consistent humidity, but it’s best for your collection to keep the humidity in a range of 65% to 72% RH.
Prepping and maintaining a humidor is a simple, straightforward process. Once your humidor is up and running, you can grow your cigar collection exponentially!
Fill Your Humidor
If you’re a new cigar smoker filling your humidor for the first time, our list of the best cigars for beginners is a good place to start. Stick to your budget with the best cigars for the money. And, check out the best cigars of 2021 for something new to smoke. Leave around 20% of the space free for air and humidity to circulate, just as you would with a traditional humidification device. Filling a new humidor is the fun part!

